Hanging a backdrop can be a challenging task, especially if your theater doesn’t have a stable system that will be able to provide good support to the backdrop’s weight. If that is the case, don’t worry. Besides backdrops and drapes, our inventory includes a rentable pipe and base that will help you hang the backdrop on any stage. But to be able to set it up, you need to follow a few steps. In this tutorial, you can find out how to assemble a pipe and base system for hanging a backdrop.
How to Assemble Pipe and Base
To successfully assemble your pipe and base, please follow these steps.
Step 1. Lay out the Backdrop
How to assemble the pipe and base? You start off by laying out the backdrop.
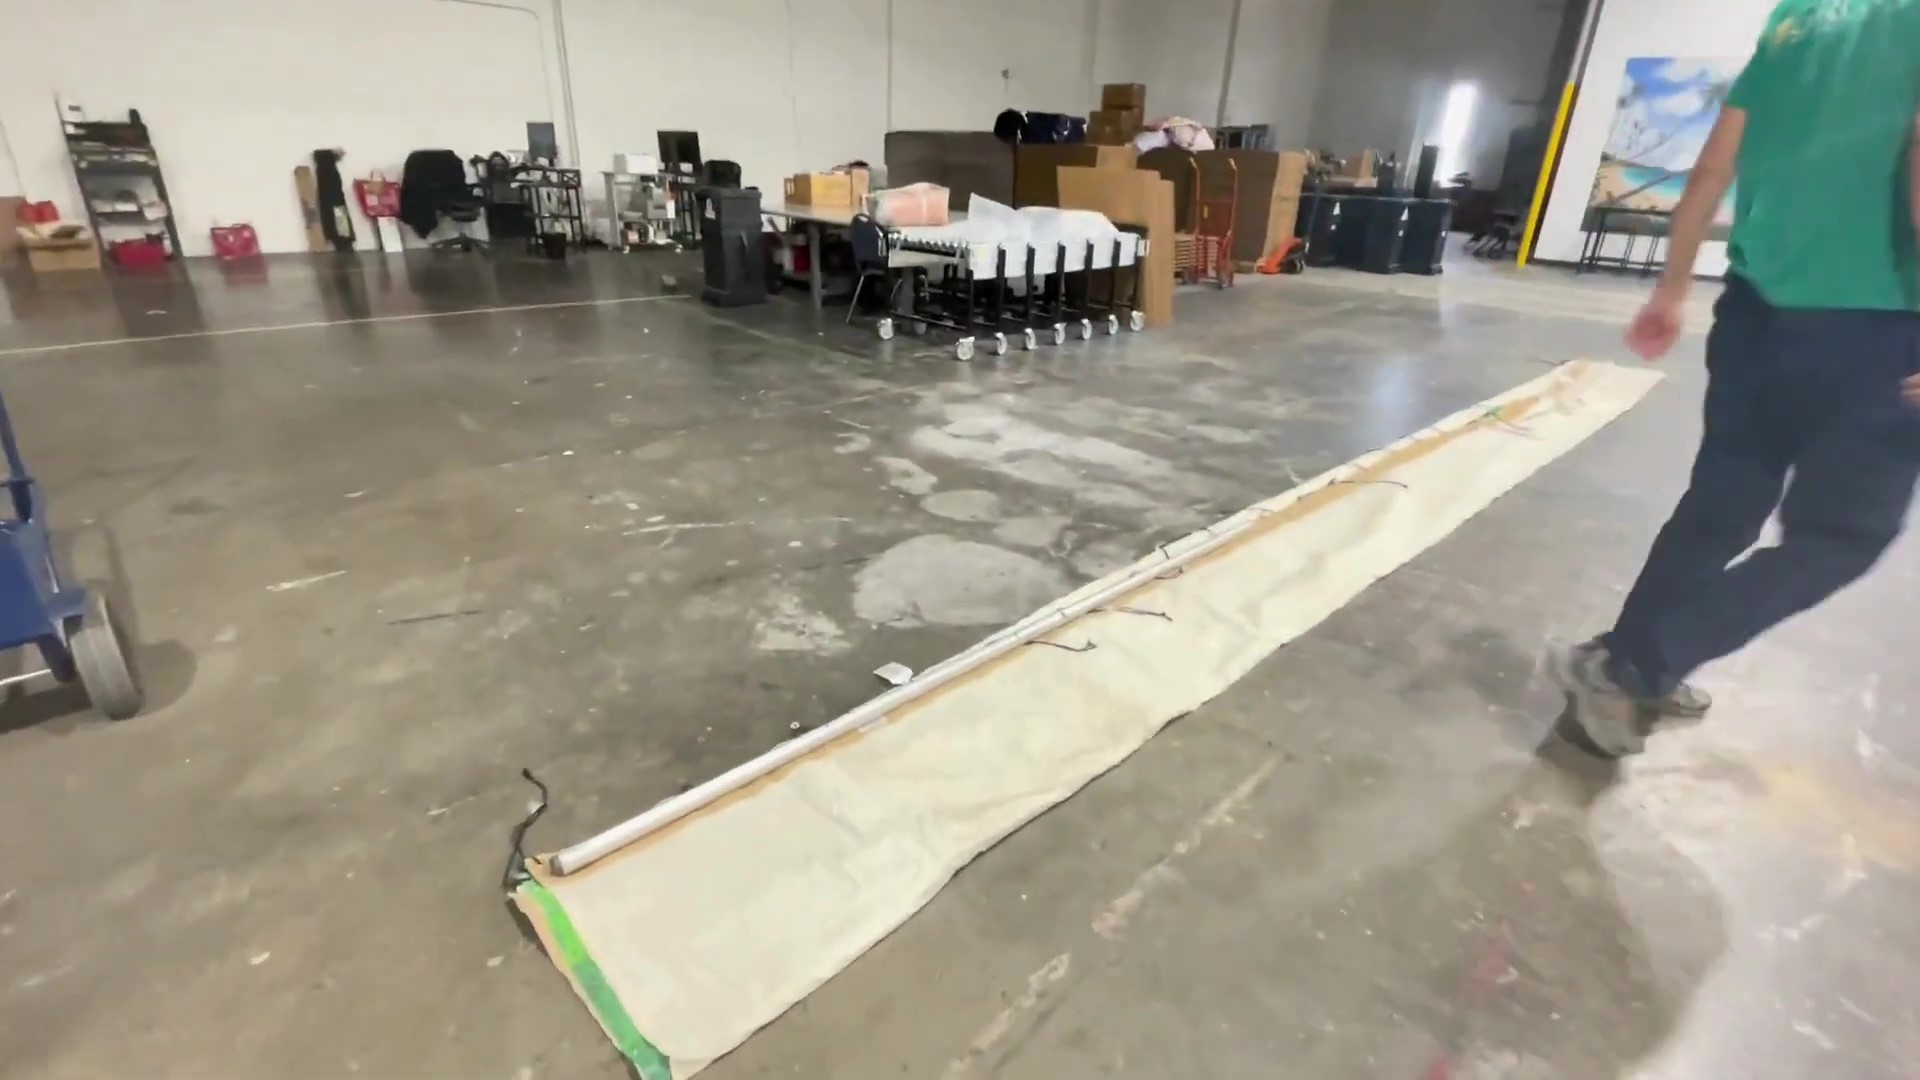
You then grab the cross members and align them across the top to where they belong.
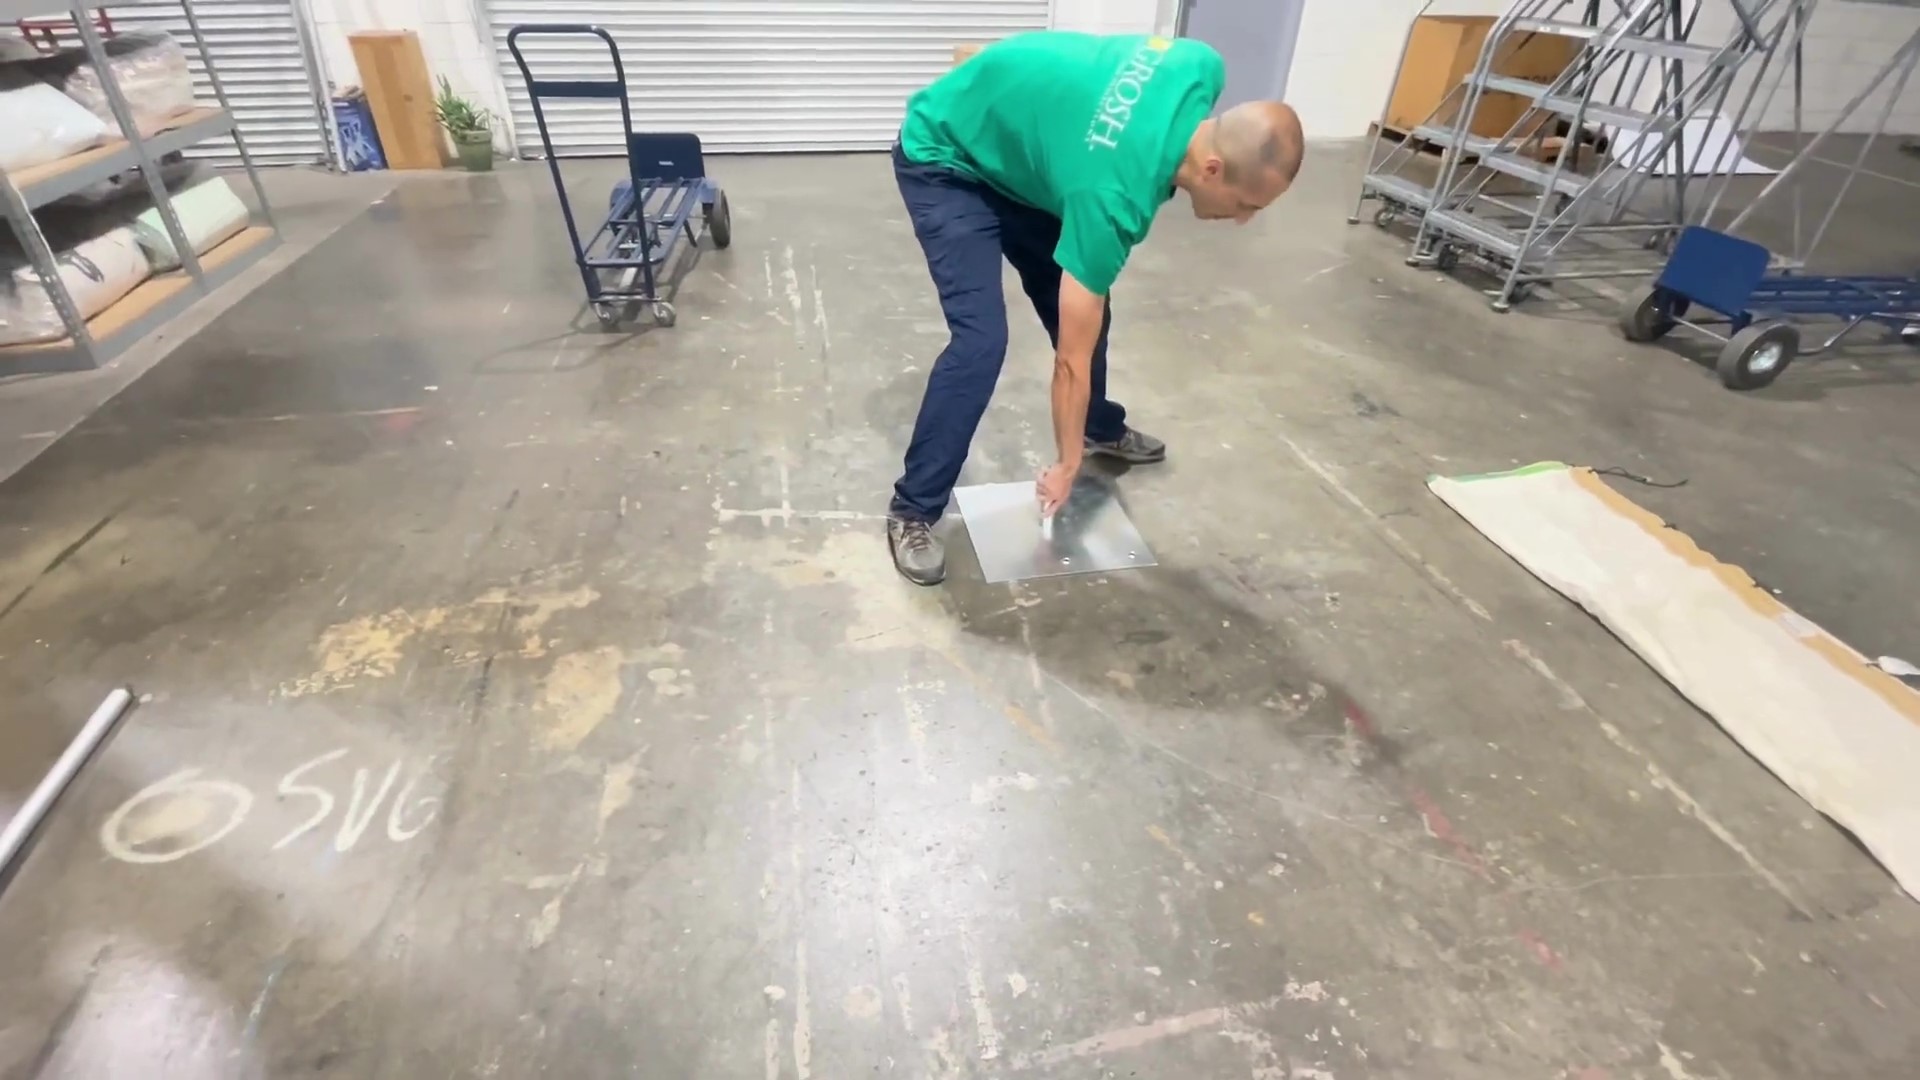
Step 2. Align the Base to the Backdrop Corners
You then align the bases to each corner of the backdrop.
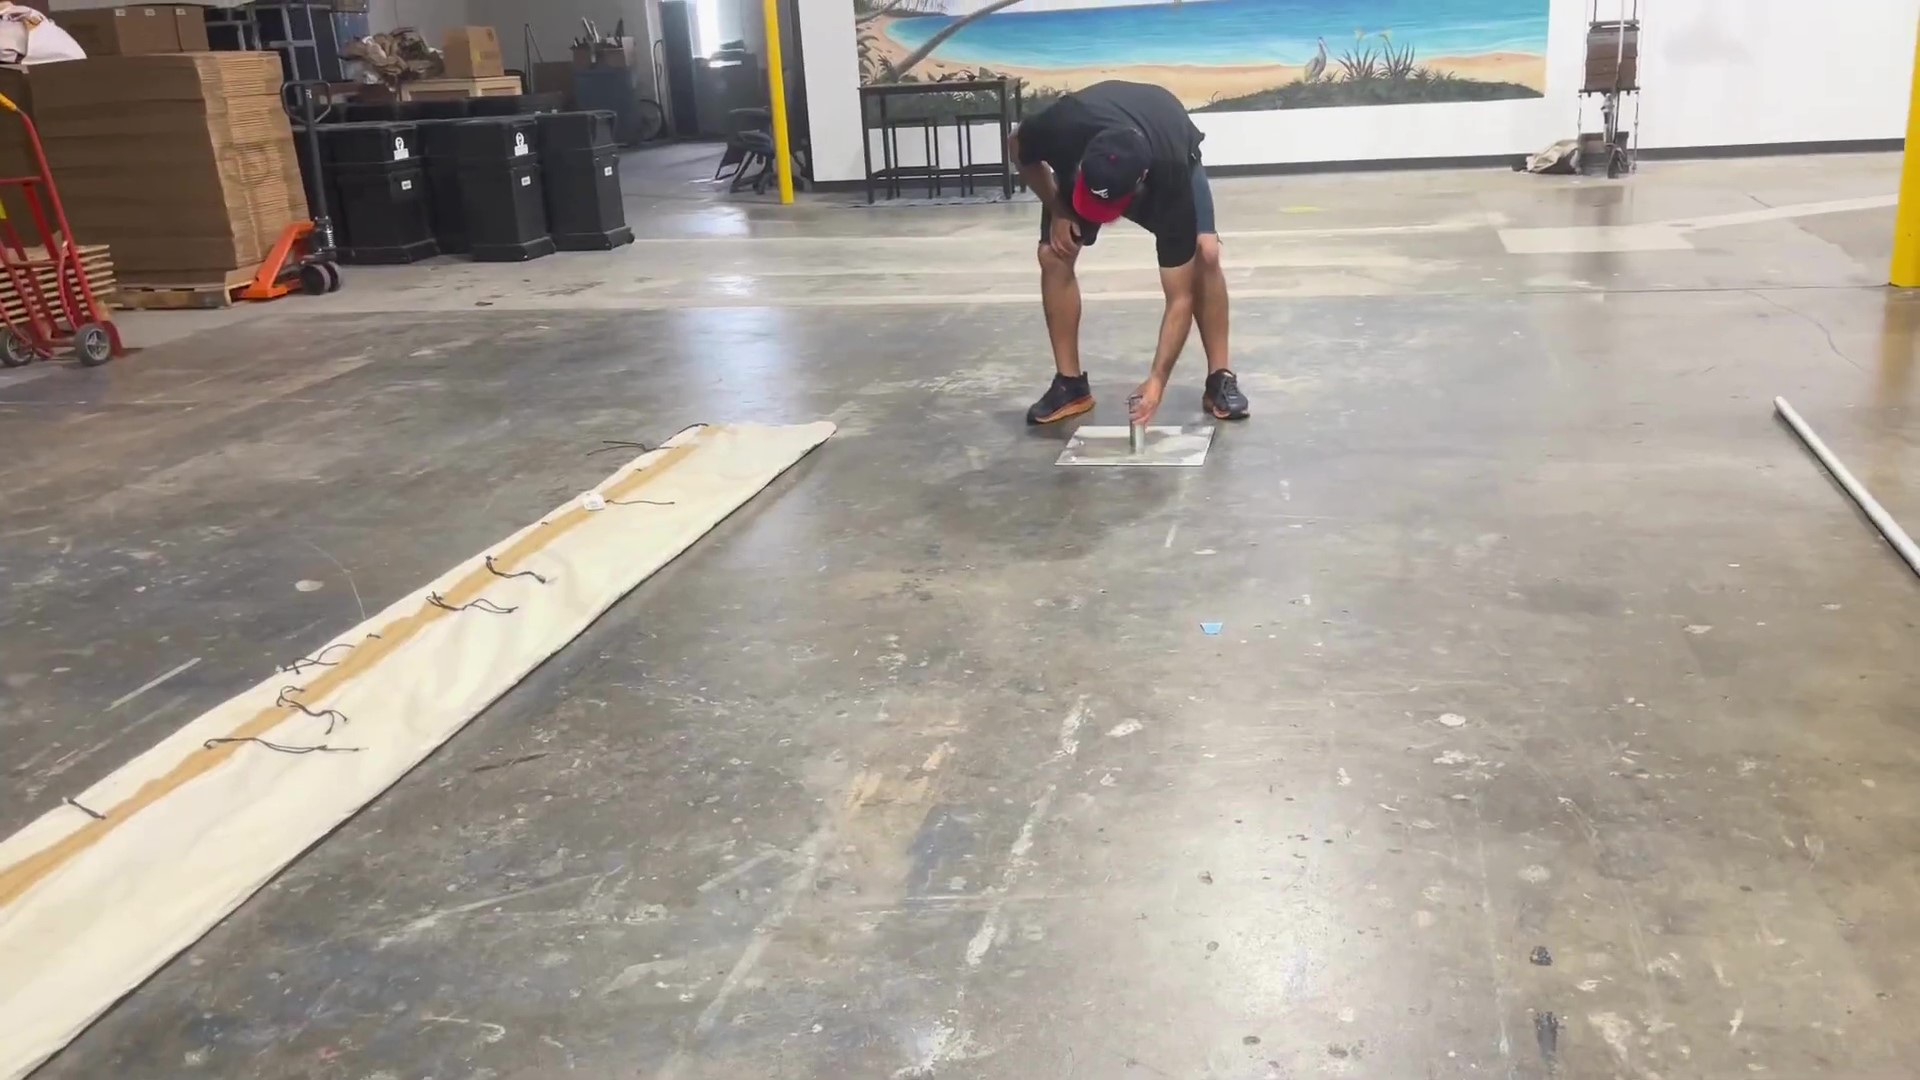
Align where the cross members meet in the middle as well.
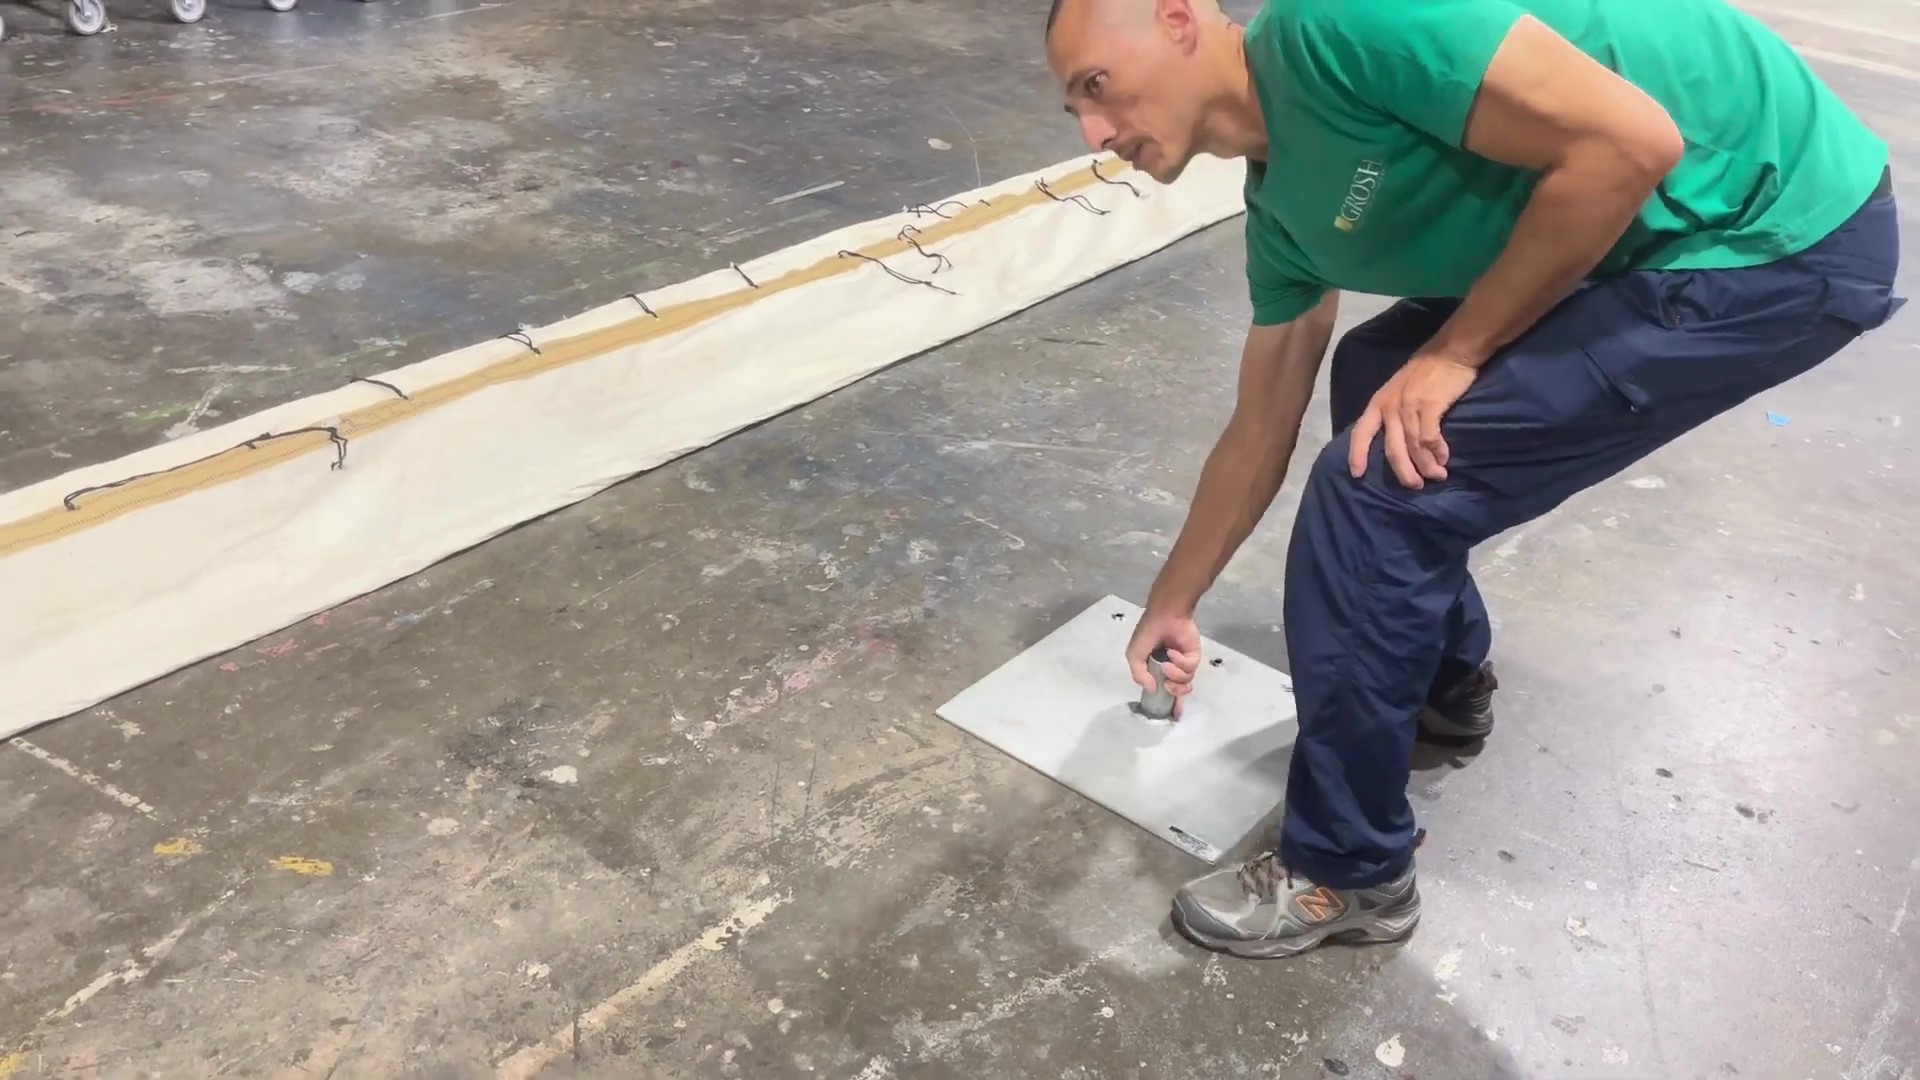
Step 3. Insert the Upright into the Bases
Once the bases are aligned, you will insert the upright into the bases.
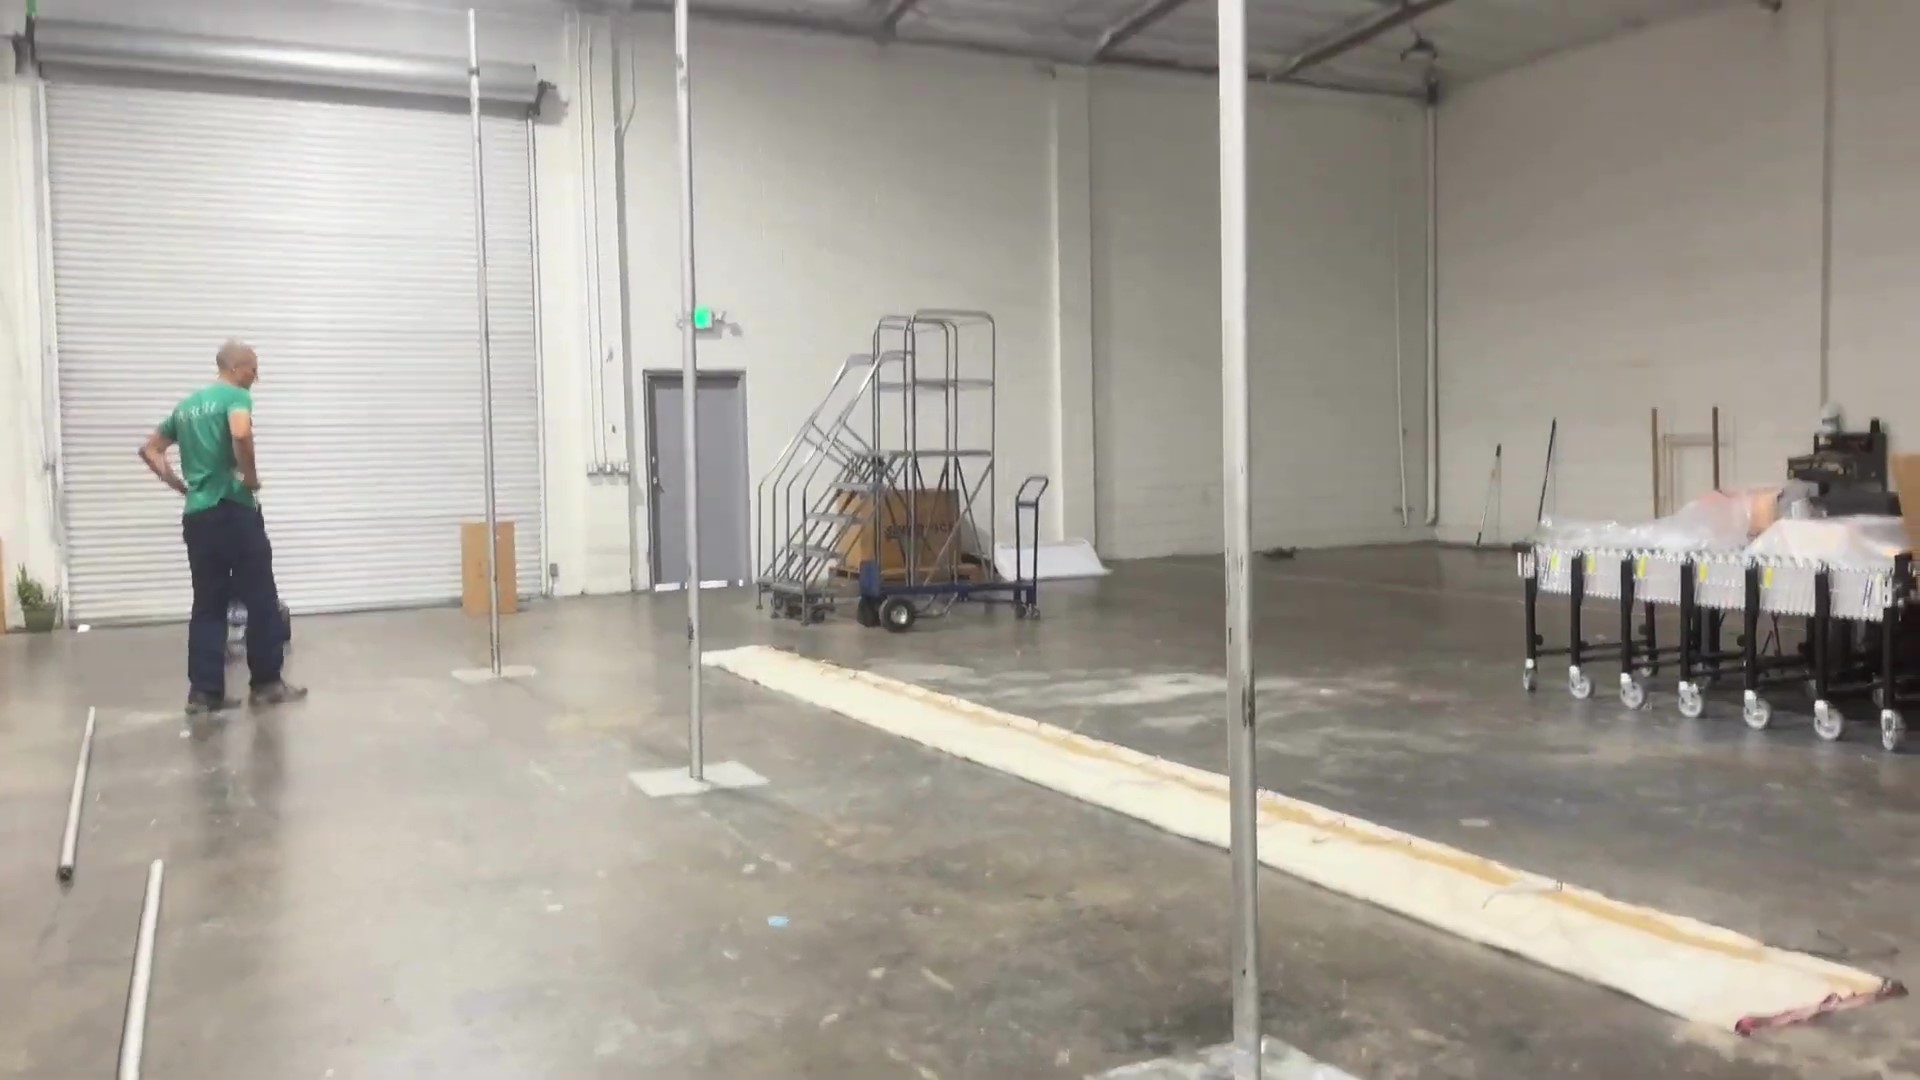
Step 4. Connect Crossmembers to Uprights
You then bring down the assembled uprights to connect the cross members.
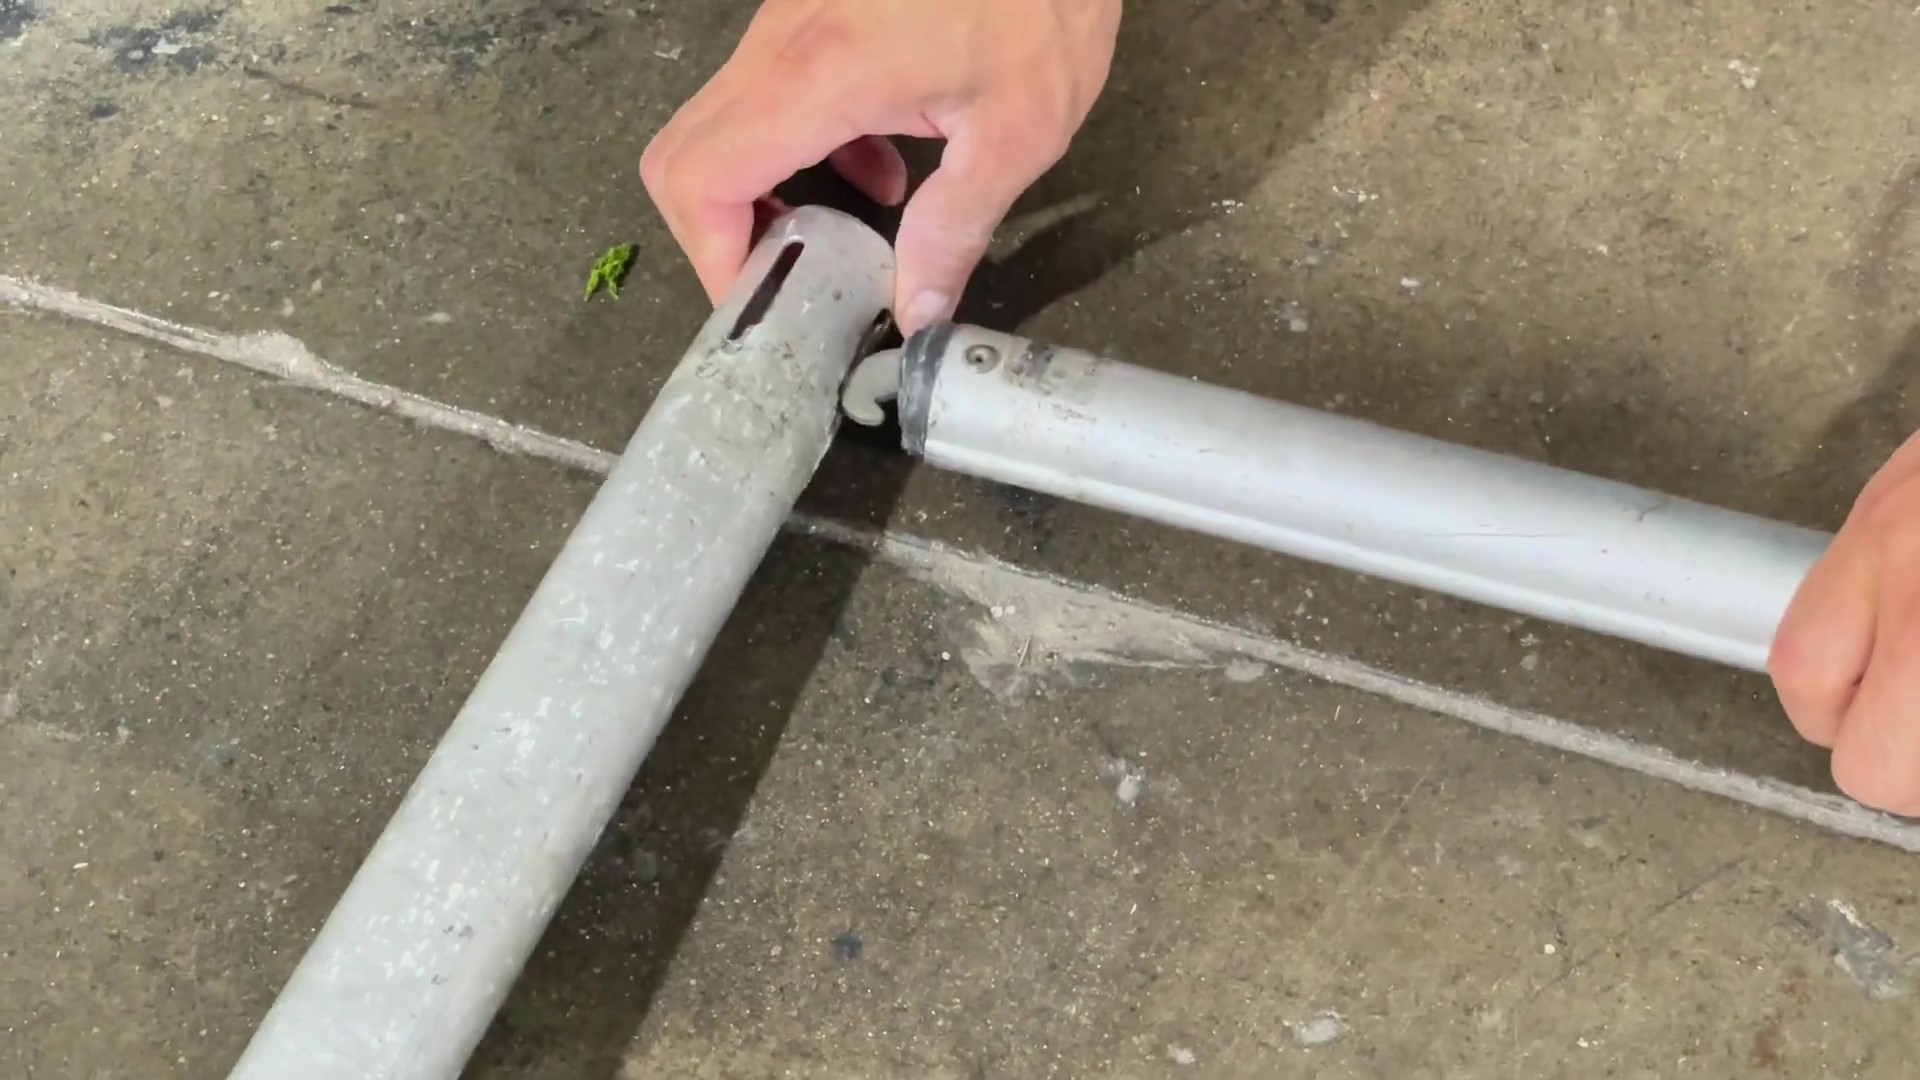
Cross members will have hooks at the end to connect to the uprights.
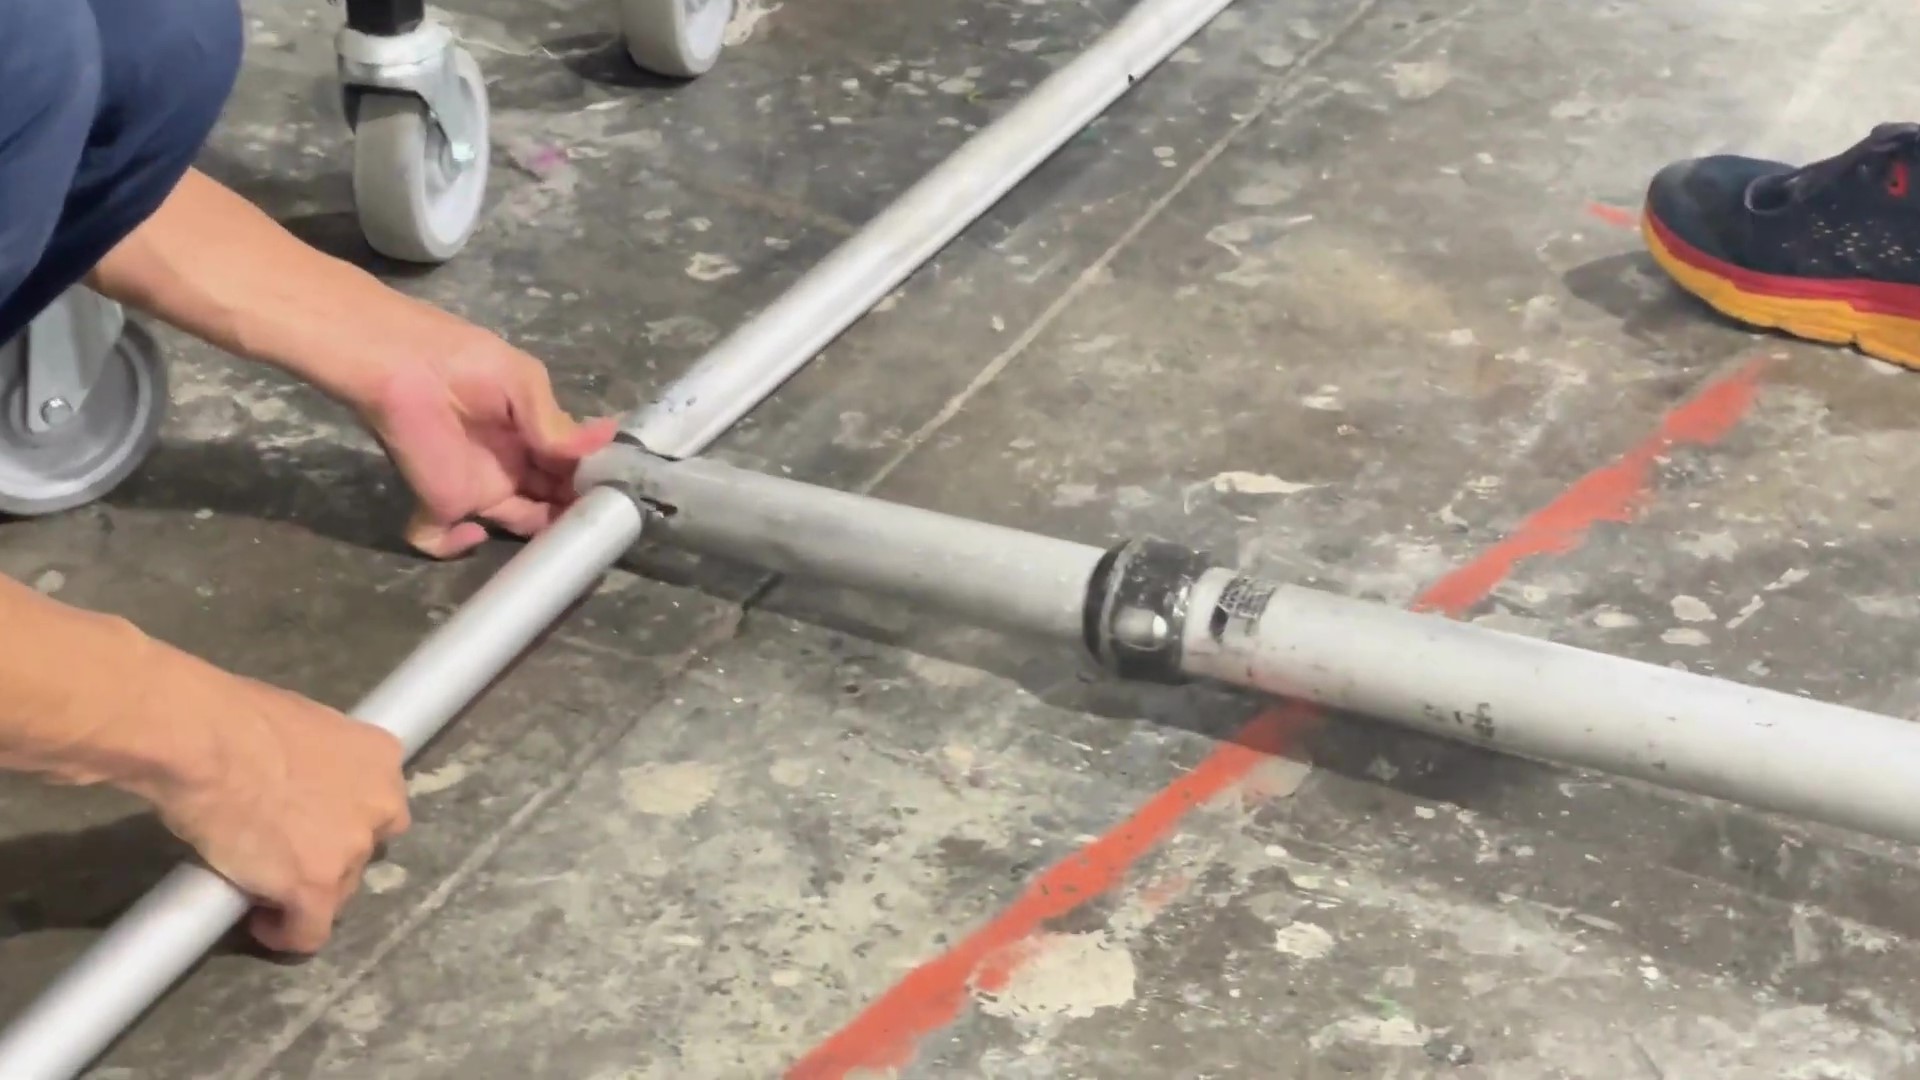
You may use tape to hold the pipes together for added stability.
How to Hang a Backdrop
There are two ways to hang a backdrop. The first way to hang a backdrop is when the pipe and base are assembled and standing upright by using a ladder. This option is best used when there’s minimal floor space.
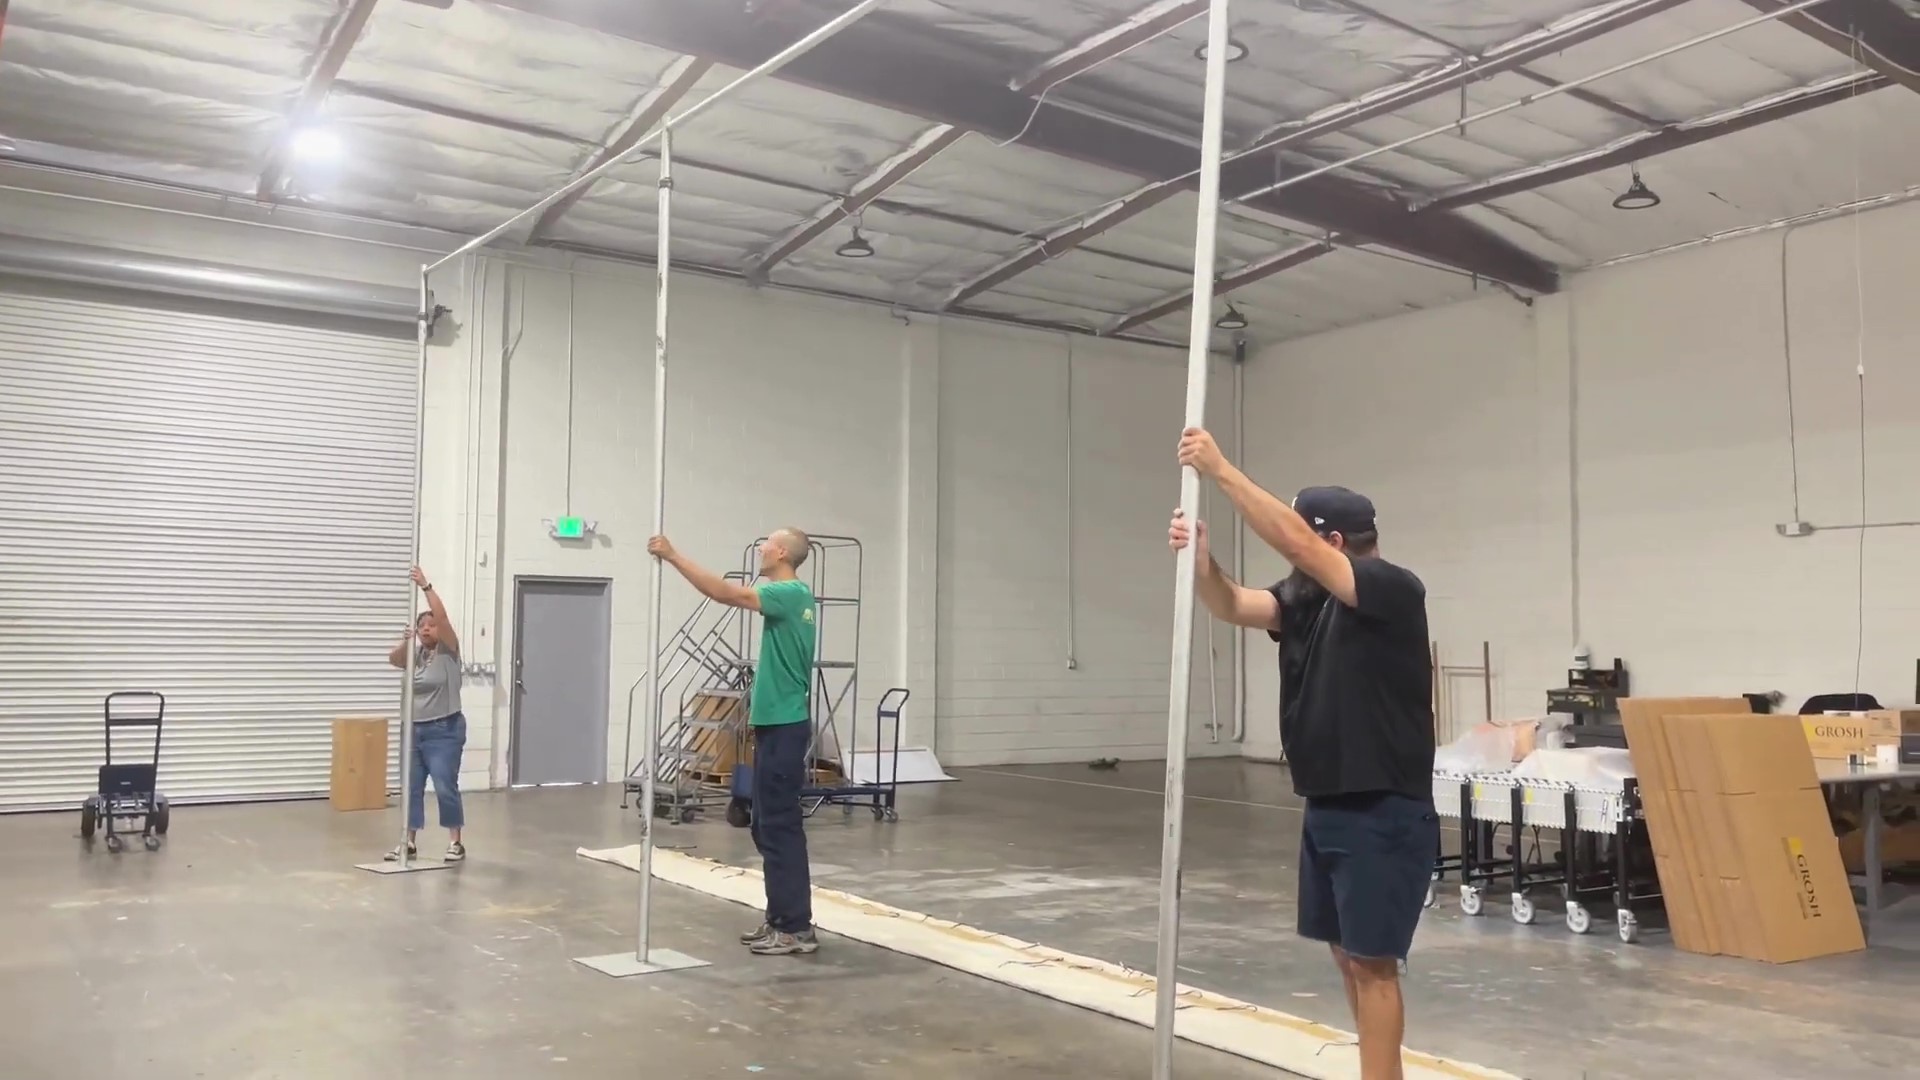
The next way is to keep the pipe and base lying down on the floor, so you can connect the backdrop to the piping base from an easier and more convenient location.
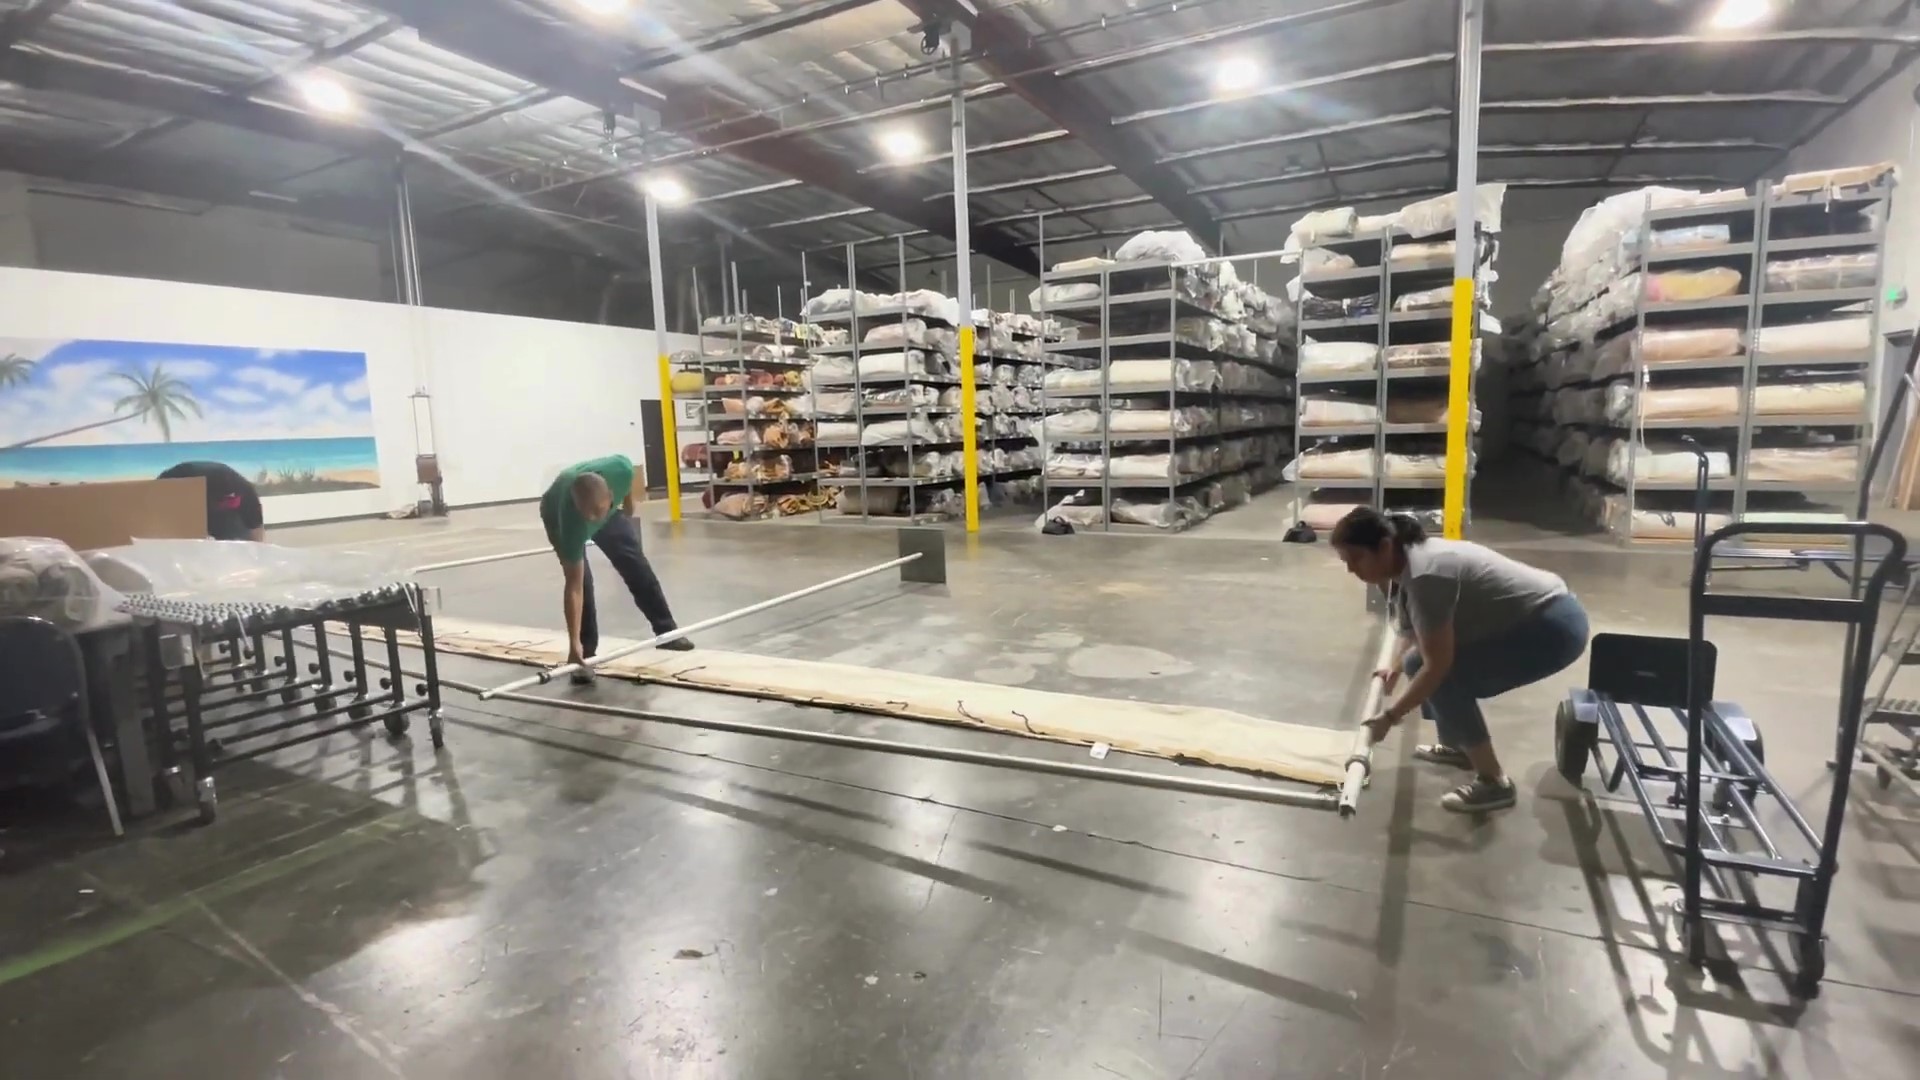
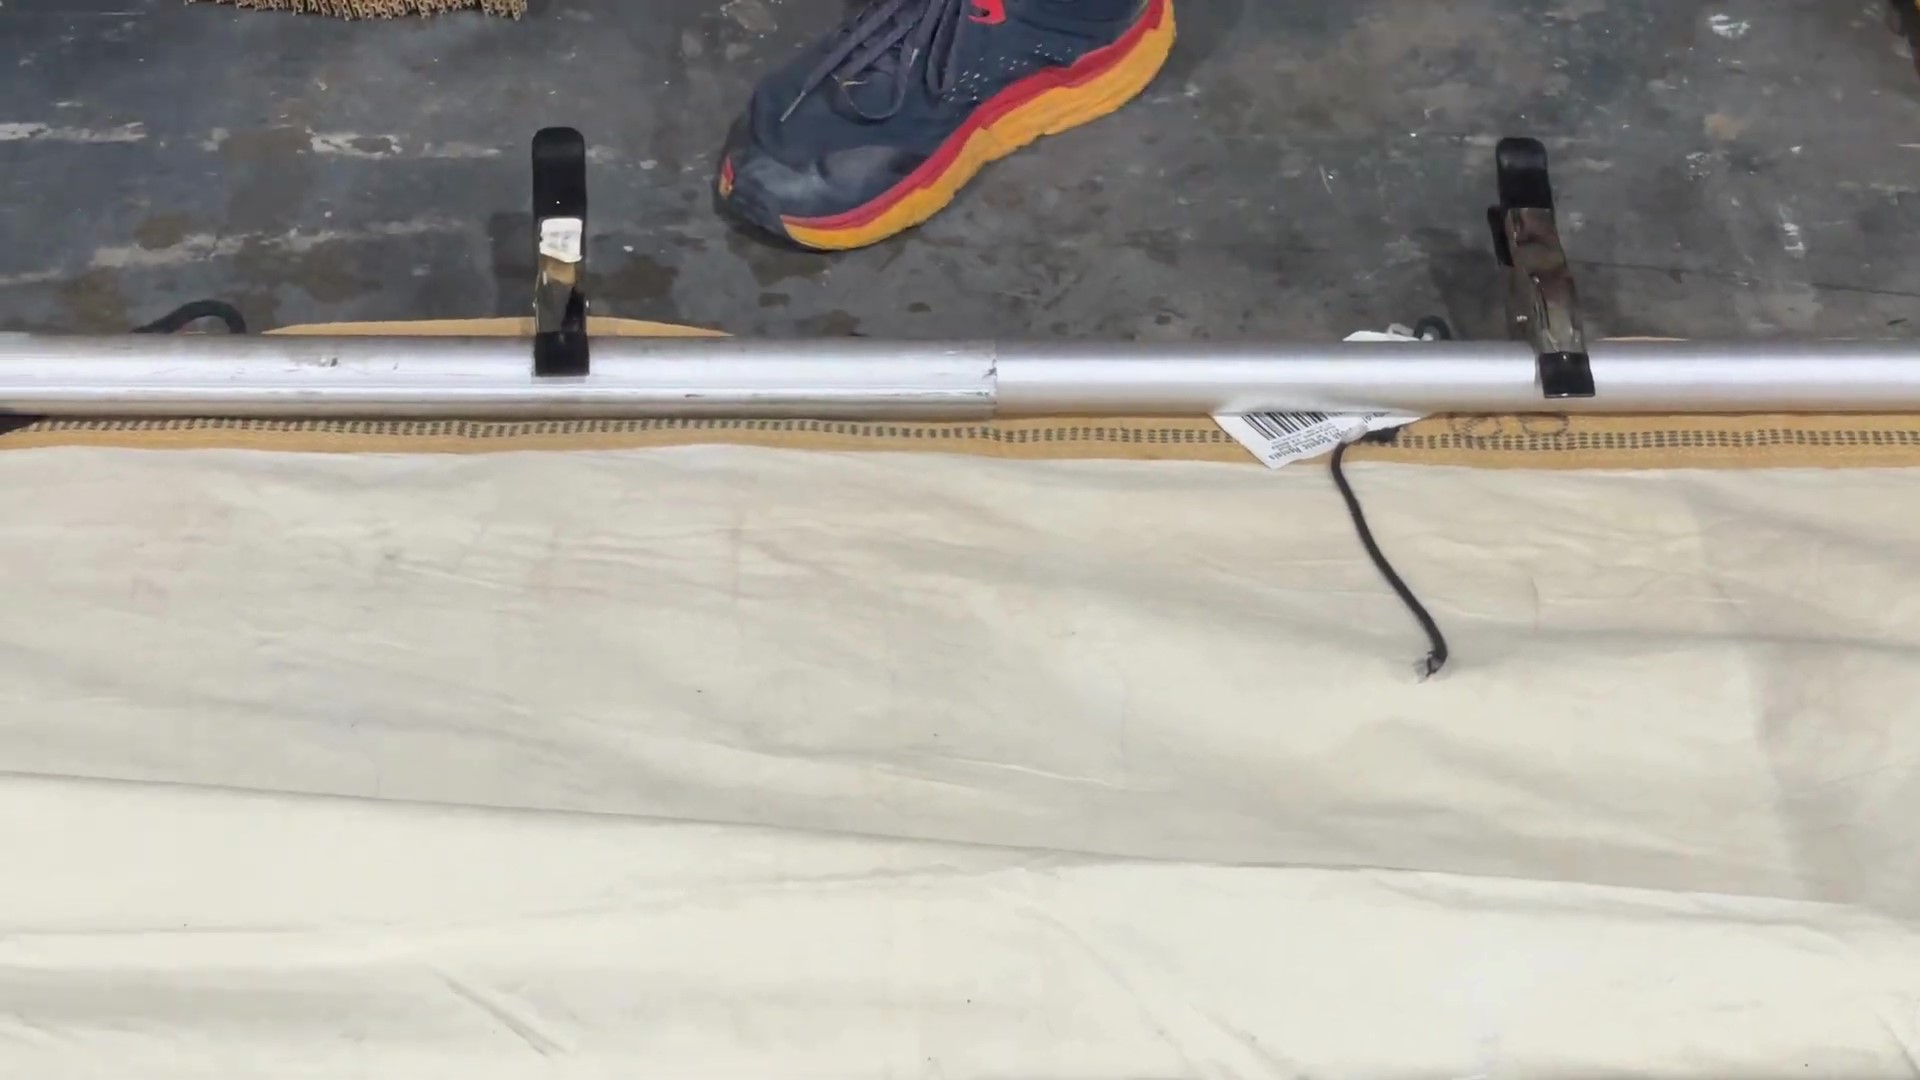
You can use the sewn-on ties to connect the backdrops to the piping base. Our favorite way to connect the backdrop to the pipe and base is by using rubber tip clamps. You can rent rubber tip clamps here at Grosh as well.
Step 1. Lift Up the Backdrop
With one person at each upright, you will then lift the pipe and base to display your backdrop.
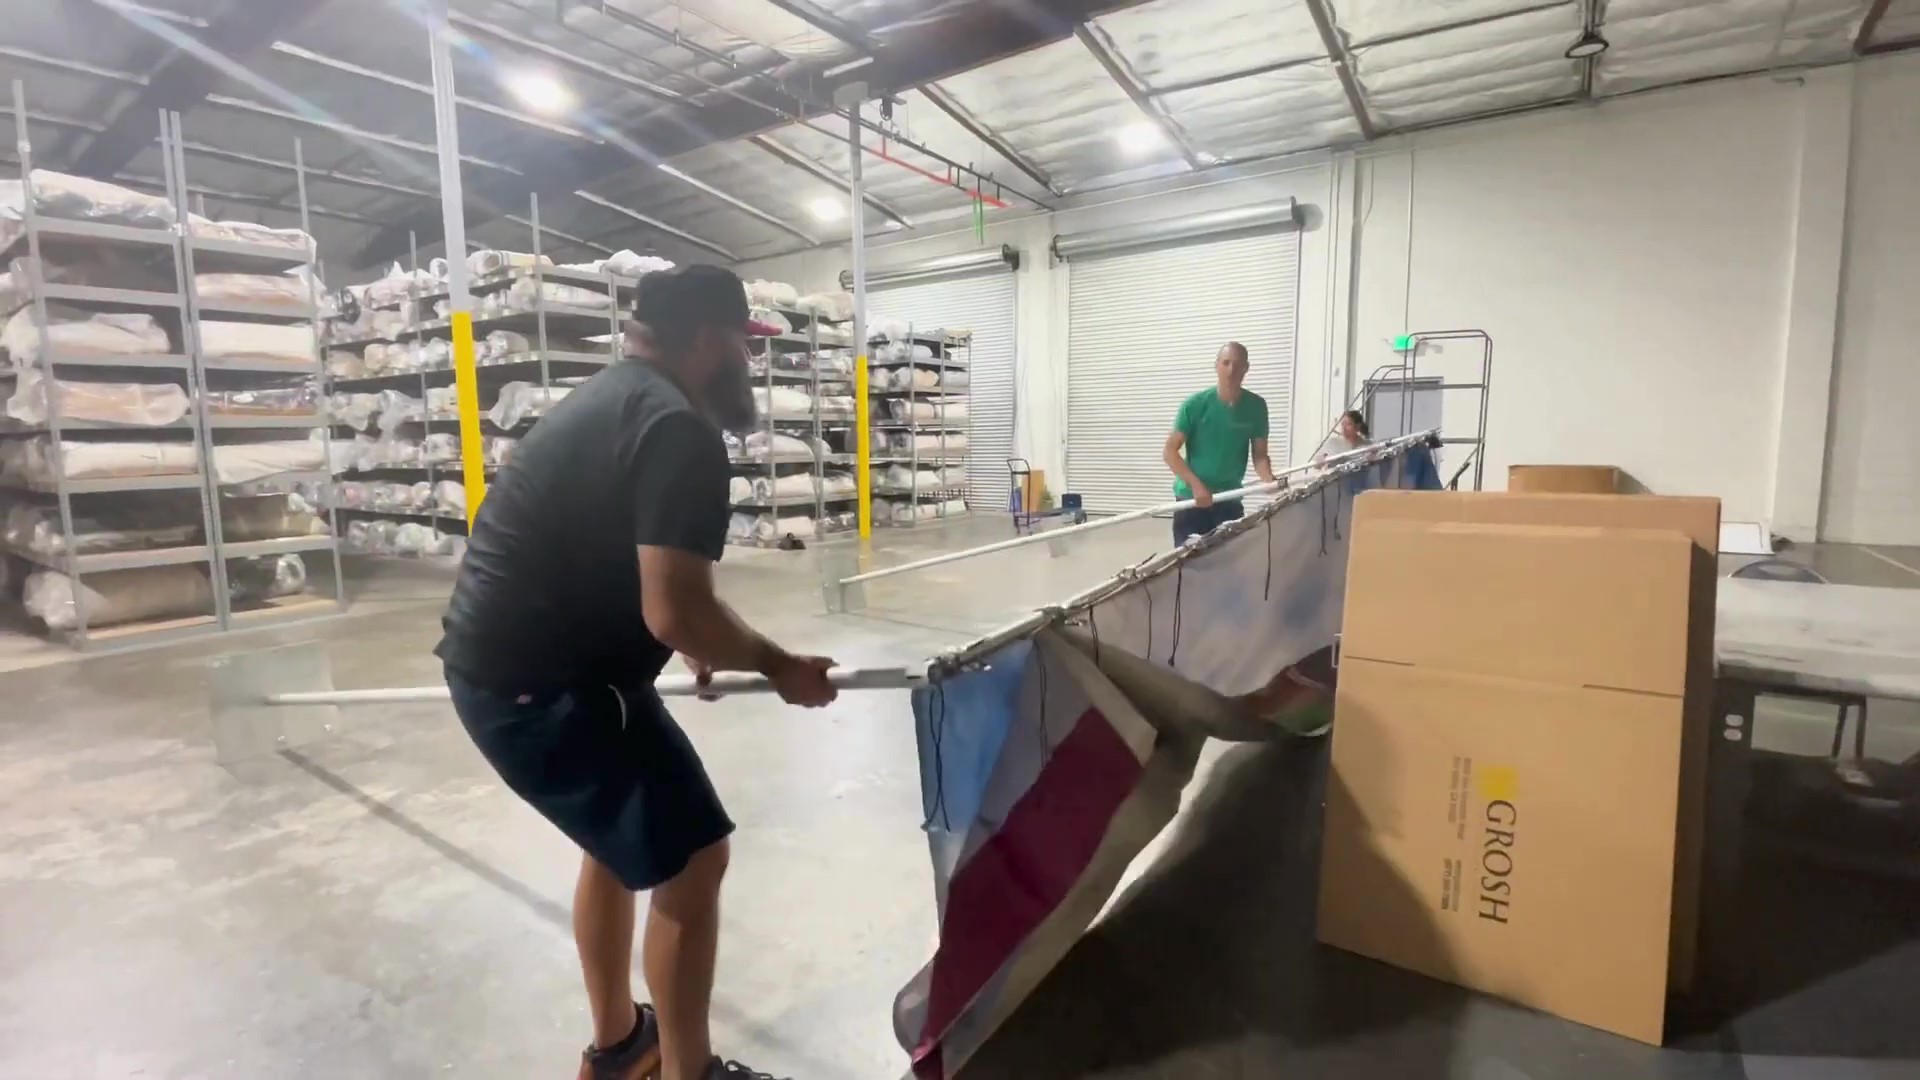
Step 2. Fix Imperfections
Once your pipe and base are standing up, this is a time to adjust any imperfections.
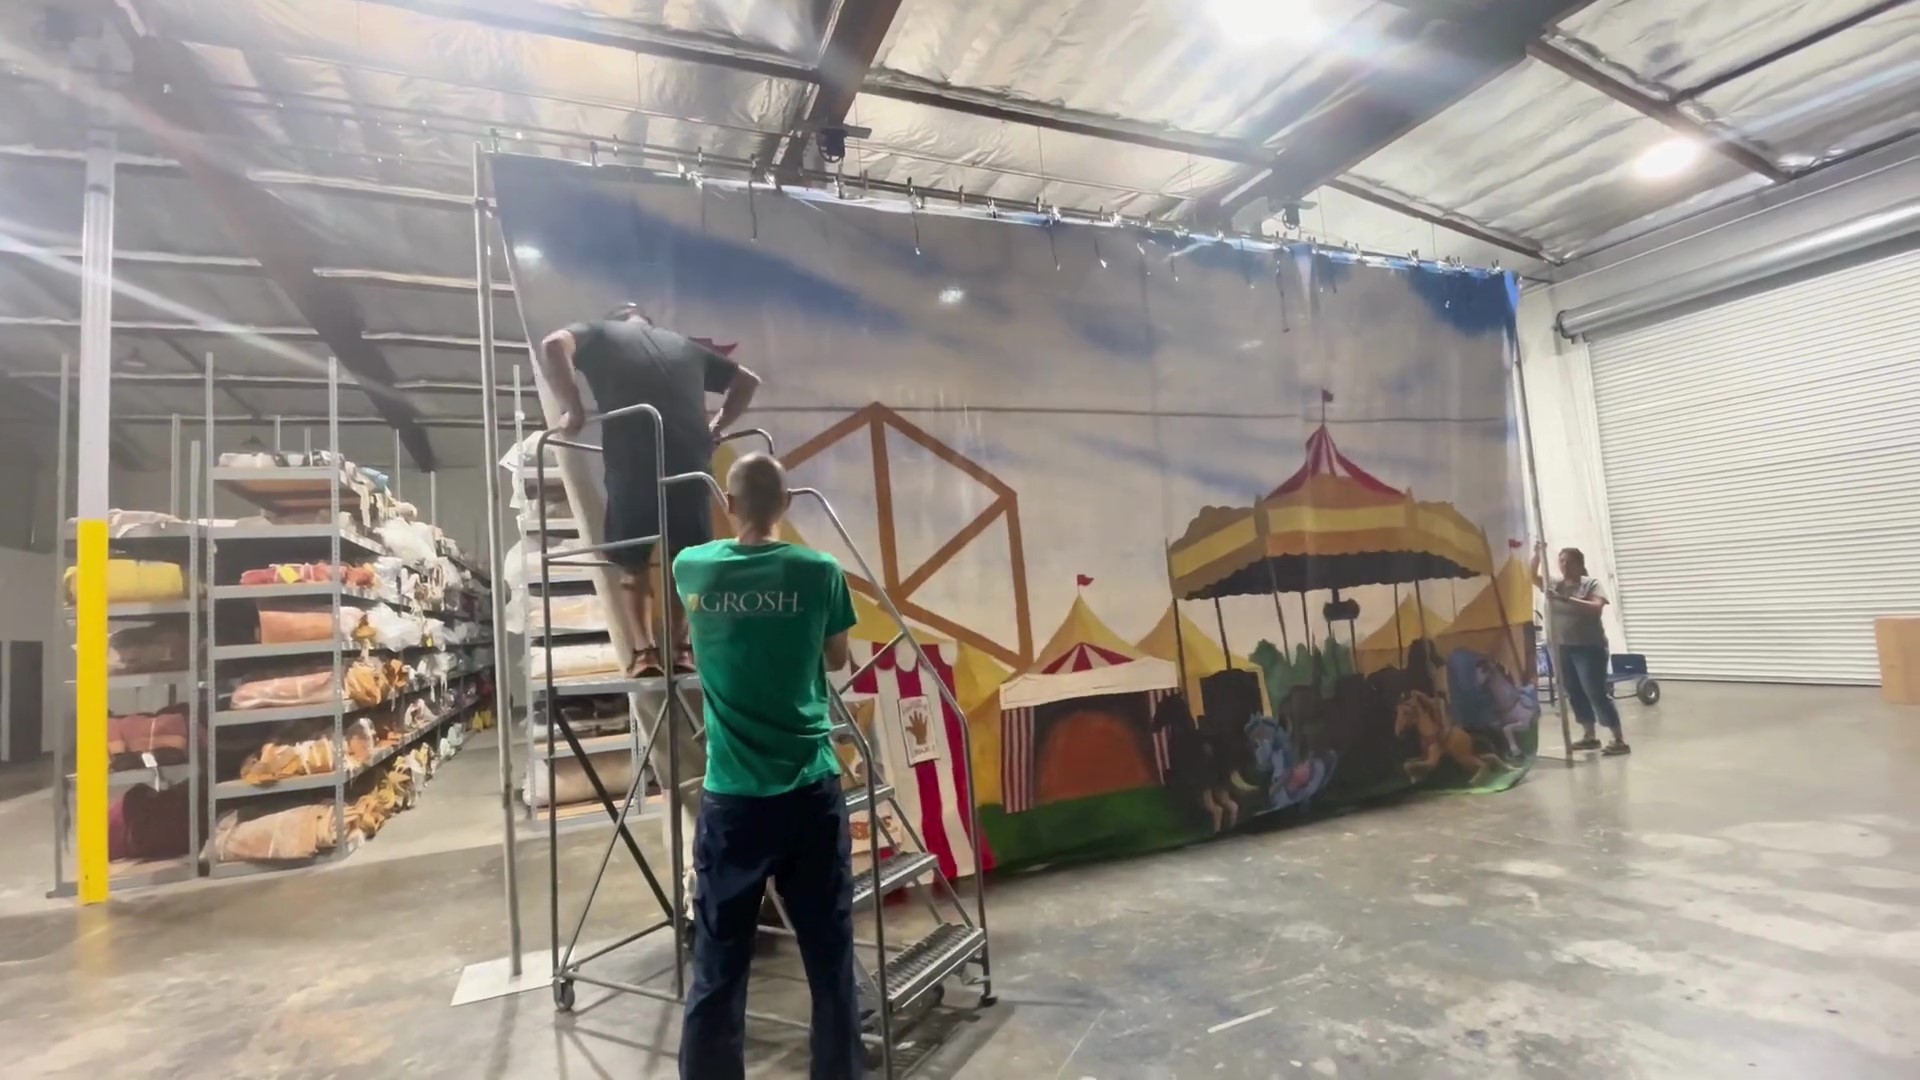
Step 3. Adjust the Height
Now all you have to do is adjust the height according to your liking.
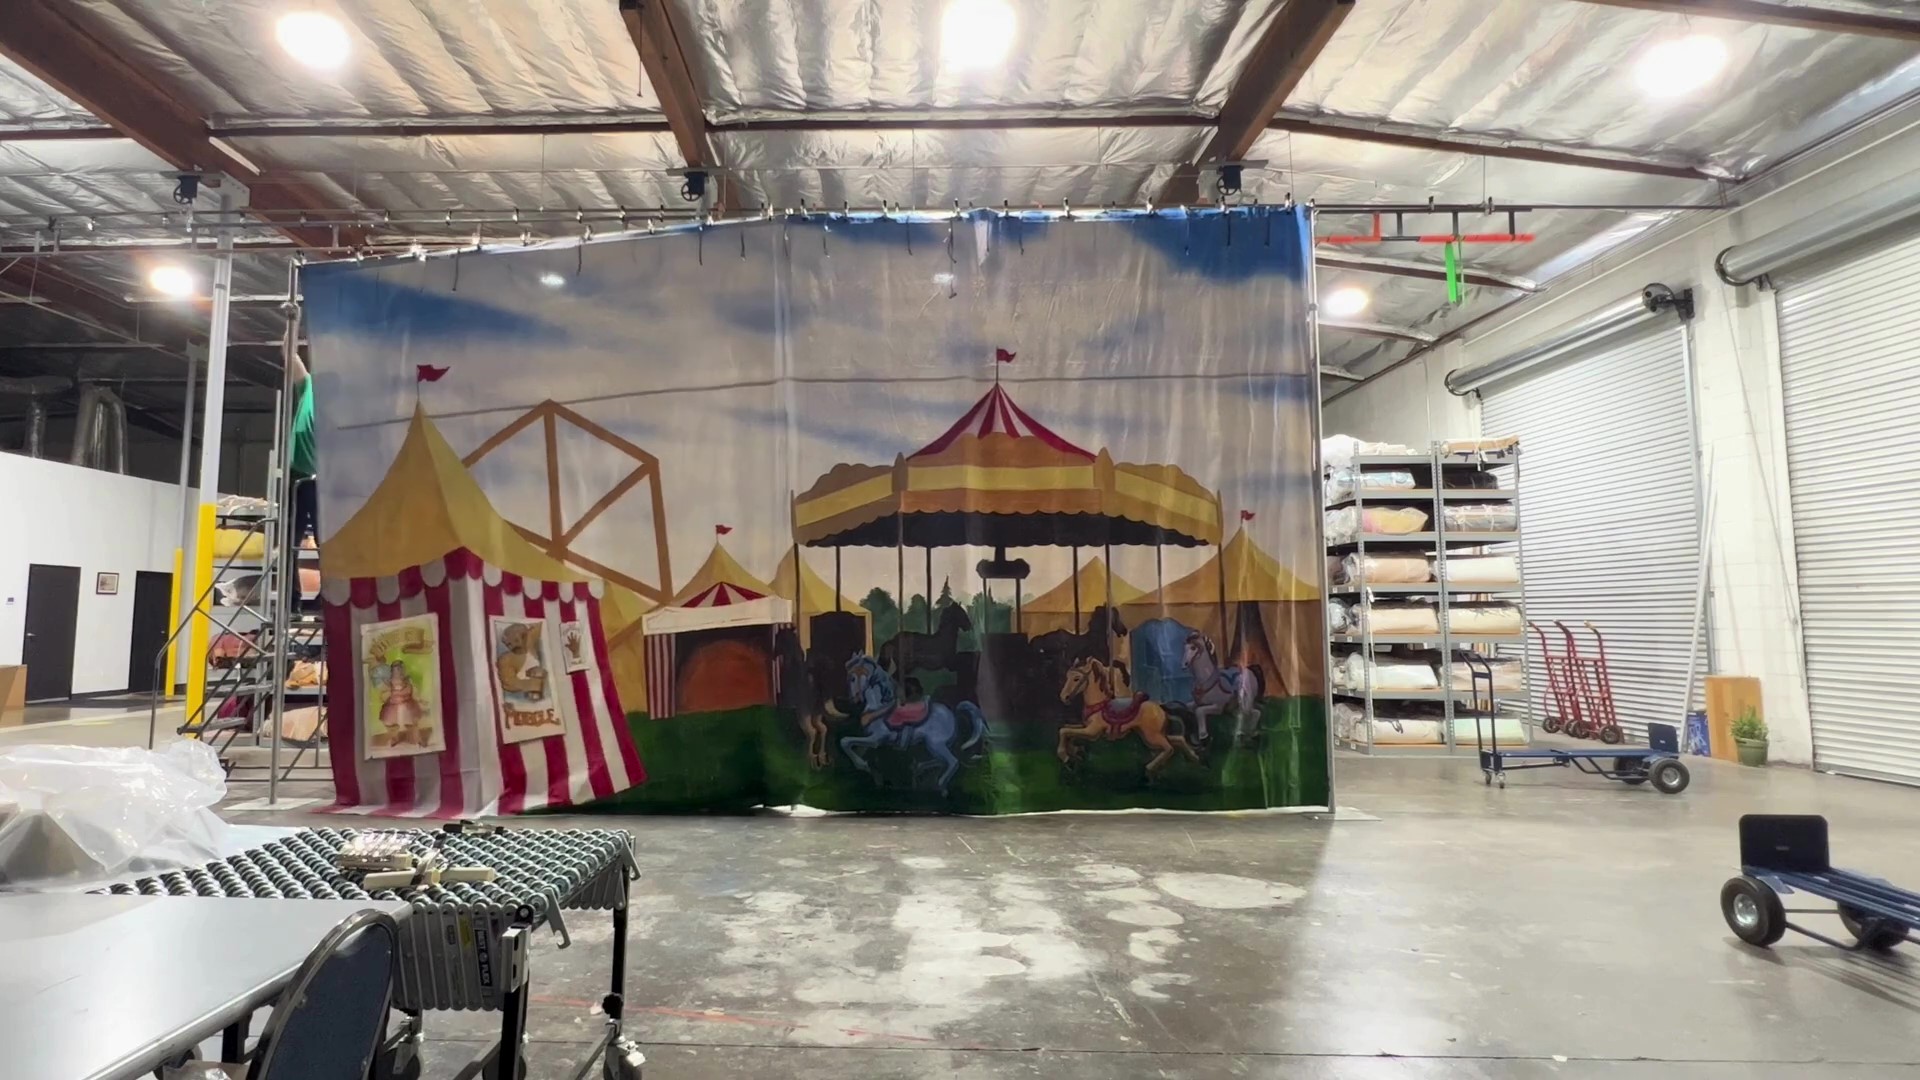
And there you have it, an assembled pipe and base.
To rent your pipe and base, contact us and we’ll be happy to help you.


